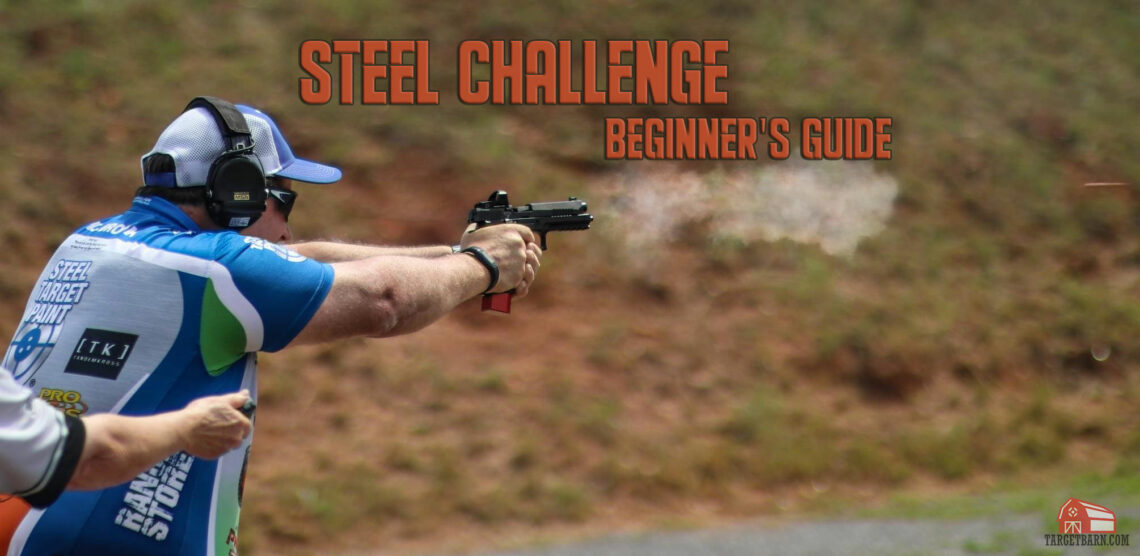
The Steel Challenge Shooting Association (SCSA) is a fun and simple practical shooting sport to try as a beginner. While other popular shooting sports have a strong focus on shooting while moving, Steel Challenge primarily focuses on shooting in one place. This makes it a fun, easy way to help develop shooting fundamentals and race against a clock. As long as the shooter can safely handle and shoot their gun, the accuracy will follow!
If it’s your first match, it may be intimidating to show up not knowing what to expect. Today we’re covering what you need to know before you shoot your first Steel Challenge match.
What is Steel Challenge?
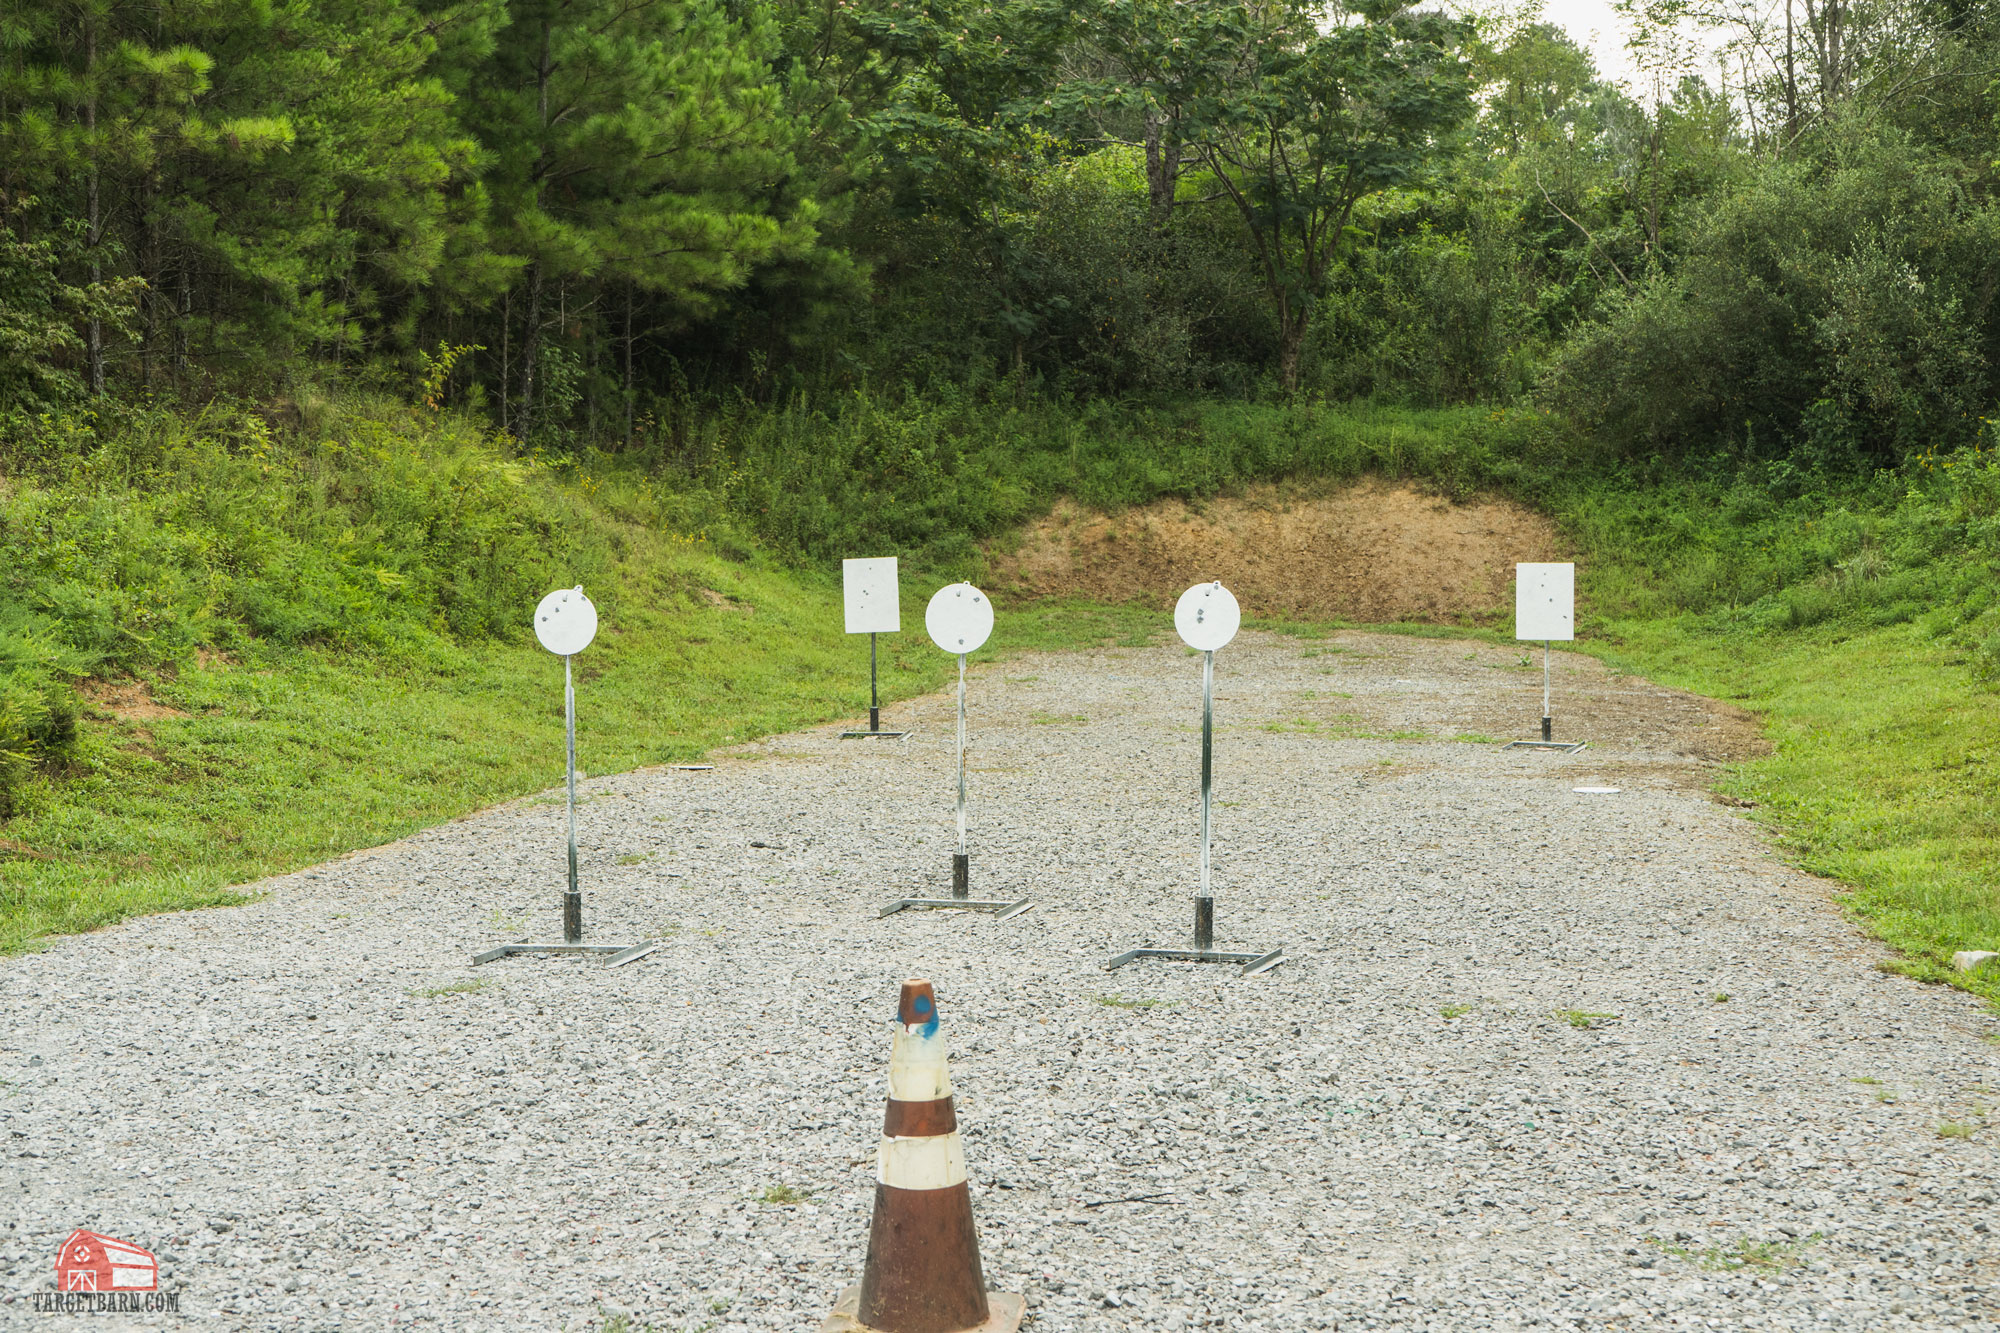
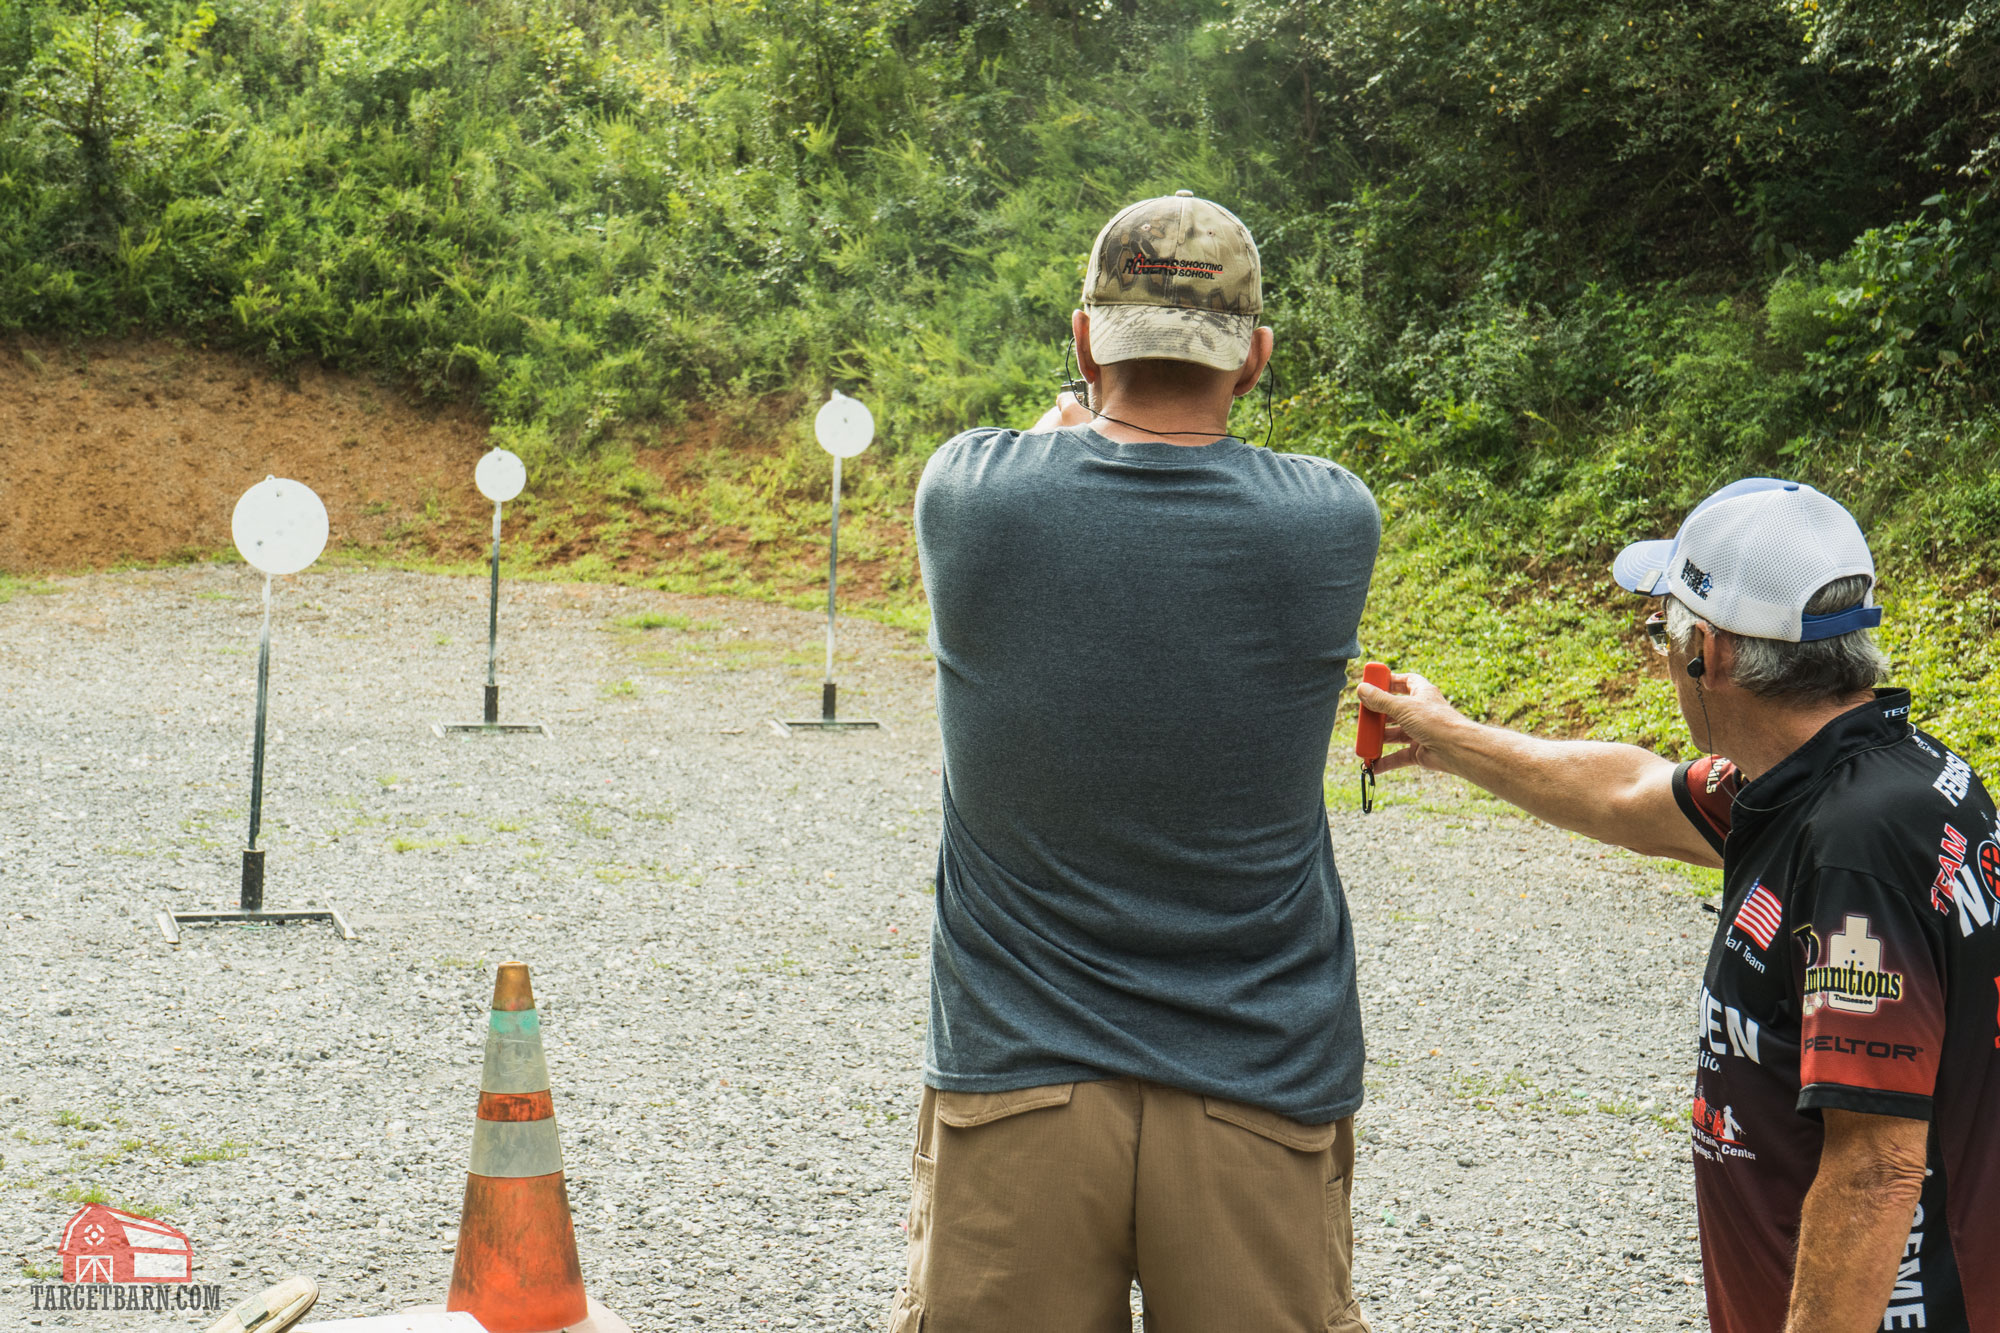
Steel Challenge is a speed shooting competition that involves shooting arrays of steel targets while timed. A local, Level 1 match may have as few as four stages and higher level matches may have up to eight stages. Each stage has five steel plate targets of various sizes set at different distances. There is a designated “stop plate” which must be shot last in sequence on the stage.
On the start signal, the competitor fires one shot on each of the targets. The competitor must hit each of the steel plate targets on the stage once during the string. The shooter finishes the string by hitting the designated stop plate. Each string is timed, so the faster a competitor can hit each of the steel plate targets on the stage, the better. The only penalty for missing a target is a time penalty. This means you can fire as many make up shots as needed to hit each target without penalty.
All but one stage consists of 5 strings of fire – or 5 different attempts at the stage. The times for the fastest four strings are added for The total time for the all the strings of fire is the competitors score for that stage. The worst (slowest) string is thrown out and not part of the total score. The total time for each of the stages becomes the competitor’s total score for the match.
Steel Challenge Stages
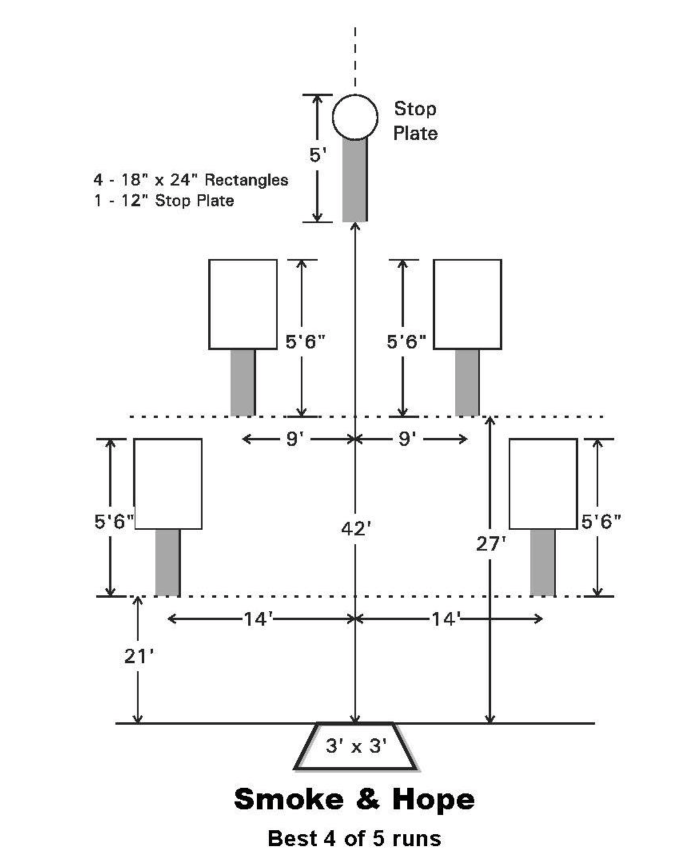
There are eight official or “sanctioned” Steel Challenge stages:
- 5 to Go
- Showdown
- Smoke & Hope
- Outer Limits
- Accelerator
- The Pendulum
- Speed Option
- Roundabout
The rulebook strictly defines the types of targets and their layouts. They are the same at all sanctioned matches. Steel Challenge sanctioned stages are set up the exact same way in California as they are in New Jersey… or even in the Netherlands. Competitors around the world can compare their times with one another on each stage, or an entire match.
Outlaw Stages
Some local matches include “outlaw” stages in their match. Outlaw stages have a target layout which does not conform to one of the eight sanctioned Steel Challenge stages. They can be fun to shoot, but they do not count toward SCSA classification. They will, however, count toward your overall score at a Level I match.
Steel Challenge Classification
Each competitor who shoots a minimum of four SCSA sanctioned stages will receive a classification based off of their best stage times. Classifications range from “D” on the low end of classification to “Grand Master” or “GM” at the highest level. If you have not yet shot a match, you will be unclassified. Once you have shot four stages in a division, you will earn a classification.
Steel Challenge Divisions
Steel Challenge has 13 different equipment-based divisions. In most cases, competitors can use a firearm they already own to compete in a match. If possible, I recommend beginners start in one of the rimfire divisions – pistol, rifle, or perhaps both. A competitor can usually compete in at least two different divisions, but I recommend sticking to just a single gun at your first match. We’ve previously covered the Steel Challenge divisions in depth, but we’ll do a quick run-down on them here as well.
Rimfire Pistol and Rimfire Rifle Divisions
Rimfire pistol and rimfire rifle divisions are each broken down into two further divisions: iron sights and “open” or optic sights. They are abbreviated with acronyms like “RFRO” for Rimfire Rifle Open and “RFRI” for Rimfire Rifle Irons. The open division allows the use of optics.
The advantage of starting in a rimfire divisions is that you don’t have to draw from a holster. The start position for rimfire divisions from the “low ready” position. When in low ready, the firearm is pointed downward toward a flag, cone, or other designated marker.
The rimfire divisions are especially popular because the cheap .22LR ammo makes it a cost-effective way to shoot.
Centerfire Divisions
If you don’t own a rimfire firearm, you can still compete in one of the remaining centerfire divisions within Steel Challenge:
- Open
- Limited
- Production
- Single Stack
- Revolver Optic Sights
- Revolver Iron Sights
- Carry Optics
- Pistol Caliber Carbine Open
- Pistol Caliber Carbine Iron Sights
Of the six centerfire pistol divisions, I recommend you start in either Carry Optics or Limited.
Firearms that have a holographic red dot optic mounted on the slide will probably fit into the Carry Optics (CO) division.
If it doesn’t have a red dot on it, most common 9mm carry guns will likely fit in either the Production or Limited divisions. Production division has a 10-round capacity limit and allows very limited modifications. Limited division doesn’t have the magazine capacity limit and has fewer restrictions on guns than Production. A beginner will probably do better without a magazine capacity limit in their first match.
If you have a 1911-style handgun, Single Stack might be a good fit. If you already own one, Pistol Caliber Carbine is a great division to start in.
The specific rules for each division of Steel Challenge can be found in the SCSA Rule Book and the match director can also help you determine which division you belong in.
Competitors shooting in a centerfire pistol division will be required to start the stage with their firearm holstered. It is important that the competitor is able to safely draw, fire, and then re-holster their centerfire pistol.
What Equipment do I need for Steel Challenge?

Once you know what firearm you will use, the other equipment you will need is:
- Hearing and eye protection
- Bag and/or flag (for rimfire and PCC divisions)
- Pistol holster and belt (for centerfire pistol divisions)
- Magazines
- Ammo
Hearing and eye protection
Anyone who owns and shoots their firearm likely already has ear and eye protection. If not, pick some up at your local gun store.
Bag and/or Flag
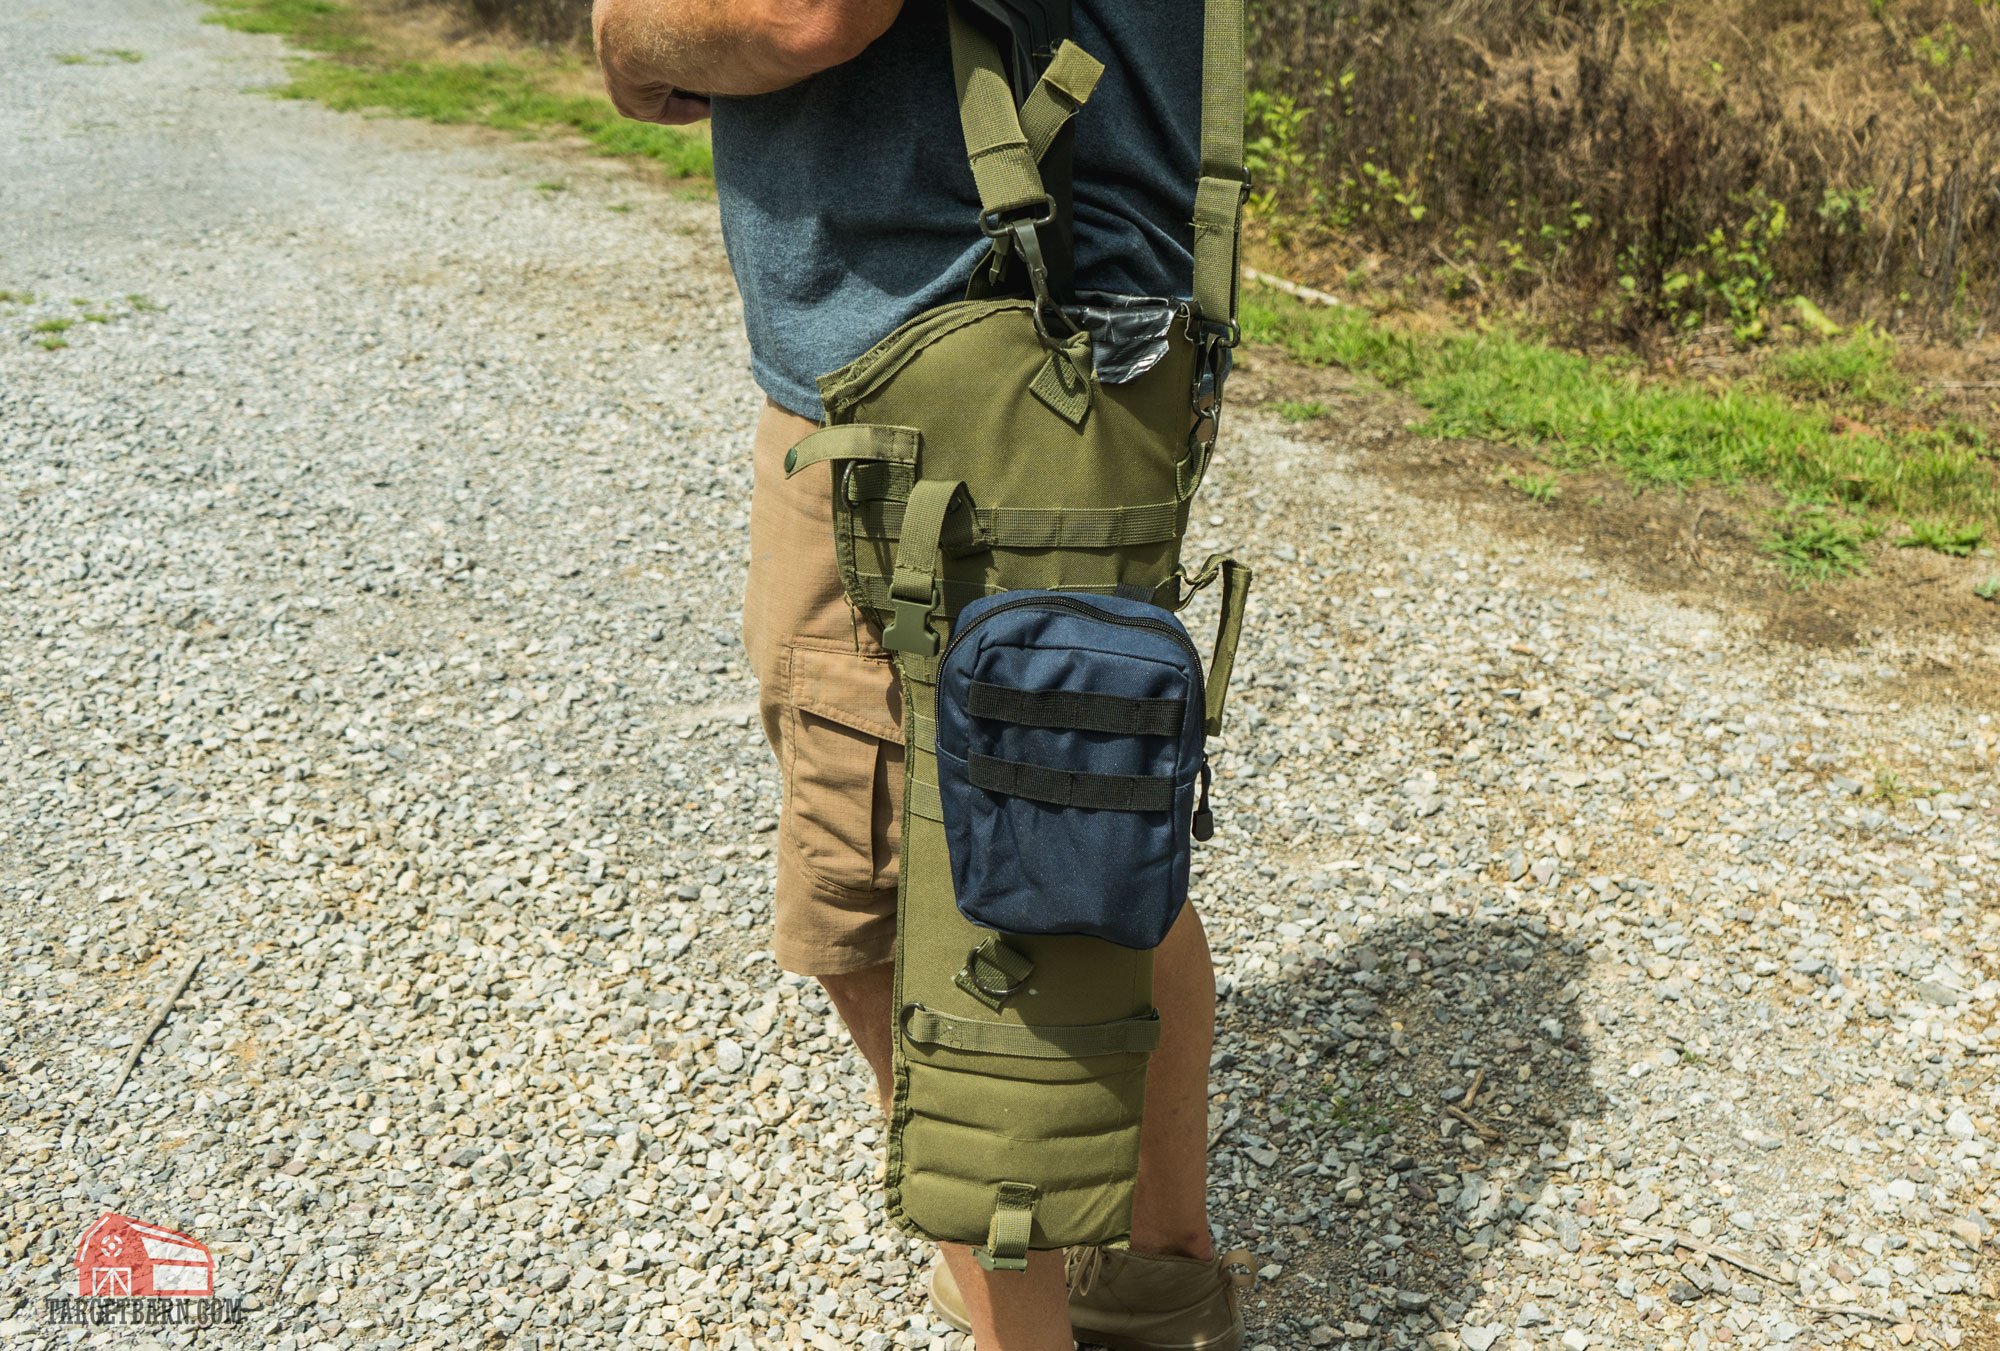
You’ll need to be able to safely bring your unloaded firearm to the firing line to shoot. Rimfire pistol shooters usually come to the firing line with their rimfire pistol safely contained in a zippered pistol bag. Rifle division shooters will use a rifle bag to transport their rifle to the firing line. They must also have some form of a chamber flag in their rifle to demonstrate its safe condition. After the stage is complete, the unloaded firearm is returned to its safe condition (re-holstered, flagged, and/or bagged) prior to leaving the shooting area.
Pistol holster and belt
Centerfire pistol shooters will need an appropriate holster and belt for the holster. Regular competitors in Steel Challenge will use special belts and holsters designed for competition, but belts and holsters you may already own for concealed carry purposes should work just fine.
Magazines
I recommend that, no matter what gun you’re shooting, you bring at least five magazines. That way you can shoot one magazine per string on each stage without having to reload. If you have less than five magazines, chances are you’ll have to reload magazines at least once during your turn. This really slows down the match.
Ammunition
All of the stages have 5 steel targets you must shoot. For all but one stage, you shoot 5 strings at each stage.
The match announcement or online sign-up should disclose the number of stages in the match, so you can do some math to determine the minimum number of rounds to bring for the match. For example, if the match has six stages, you can count on a minimum of 150 rounds fired (five strings times five shots each times six stages equals 150 rounds). This is the minimum number of rounds required – that’s if you don’t miss any shots or have any malfunctions. I recommend you bring double that amount with you for your first match. You can always take home the ammo you don’t use.
How to Find and Register for a Match
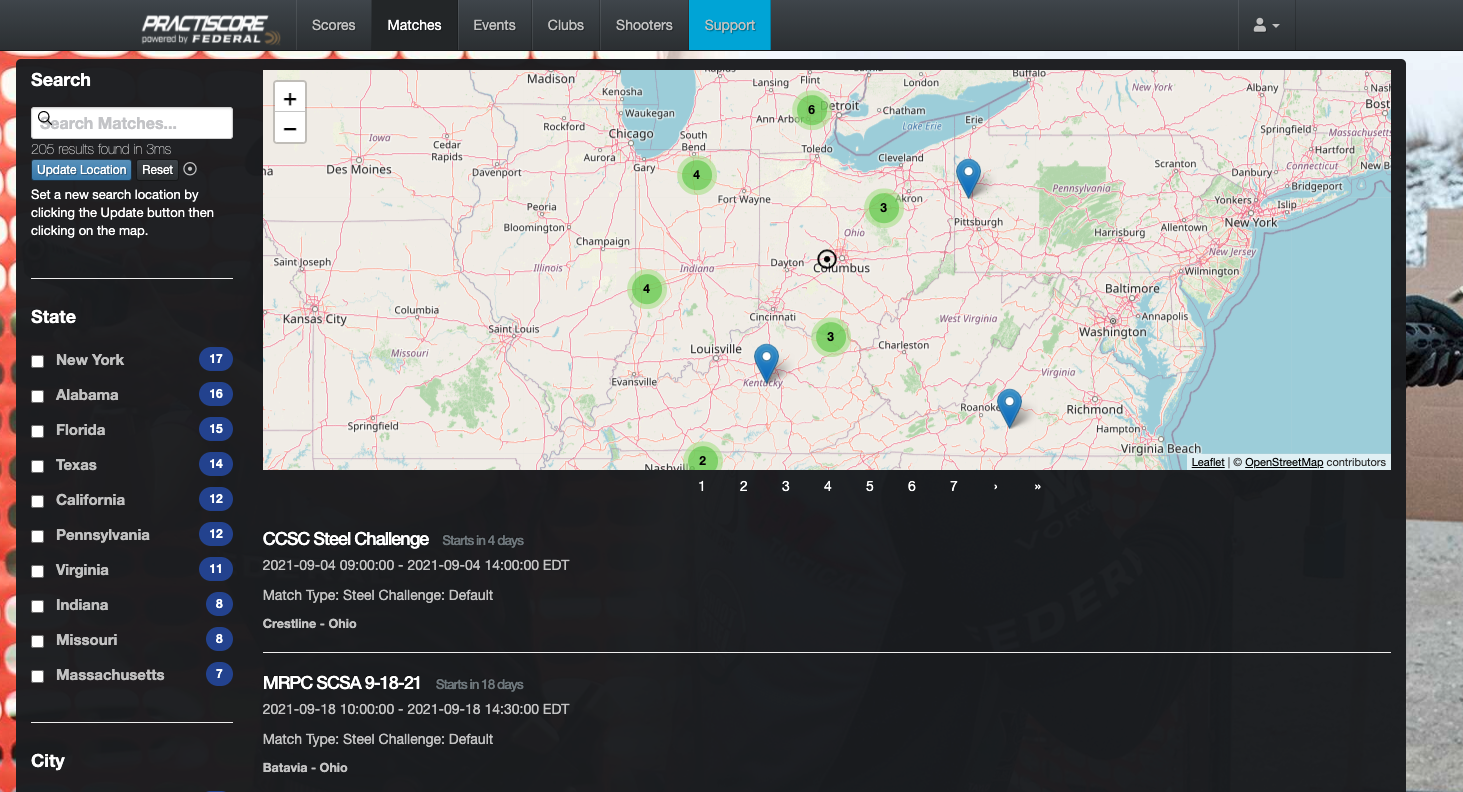
Most of the practical shooting sports use a website called Practiscore to schedule matches, handle competitor registration, and report scores after the match. You’ll need to create a free account to be able to use it. From there, select “matches” to search for a Steel Challenge match nearest to you. Once you find a match, you can follow the instructions for registering for it.
Many Level I matches allow competitors to register in person the day of the match – but if online registration fills up, you could miss out. It’s best to register online in advance.
Shooting a Steel Match: What to Expect
There are two things you can do when you show up to your first match which will not only help you be successful, but earn you the respect of the other competitors.
The first is to be safe. The biggest problem new competitors have to any of the practical shooting sports is not understanding the safety rules. The best thing you can do is actually read the Steel Challenge Rule Book. In particular, read the Safety Rules and Disqualification section (pages 21-22).
The second is to help paint targets. Between each shooter, the five steel targets need to be repainted. Everyone at the match – competitors and “staff” alike are all volunteers, so no one is paid to re-paint the targets. If you show the initiative to grab a paint can and help re-paint targets, you’ll earn a huge amount of respect from everyone at the match – even if you come in last place.
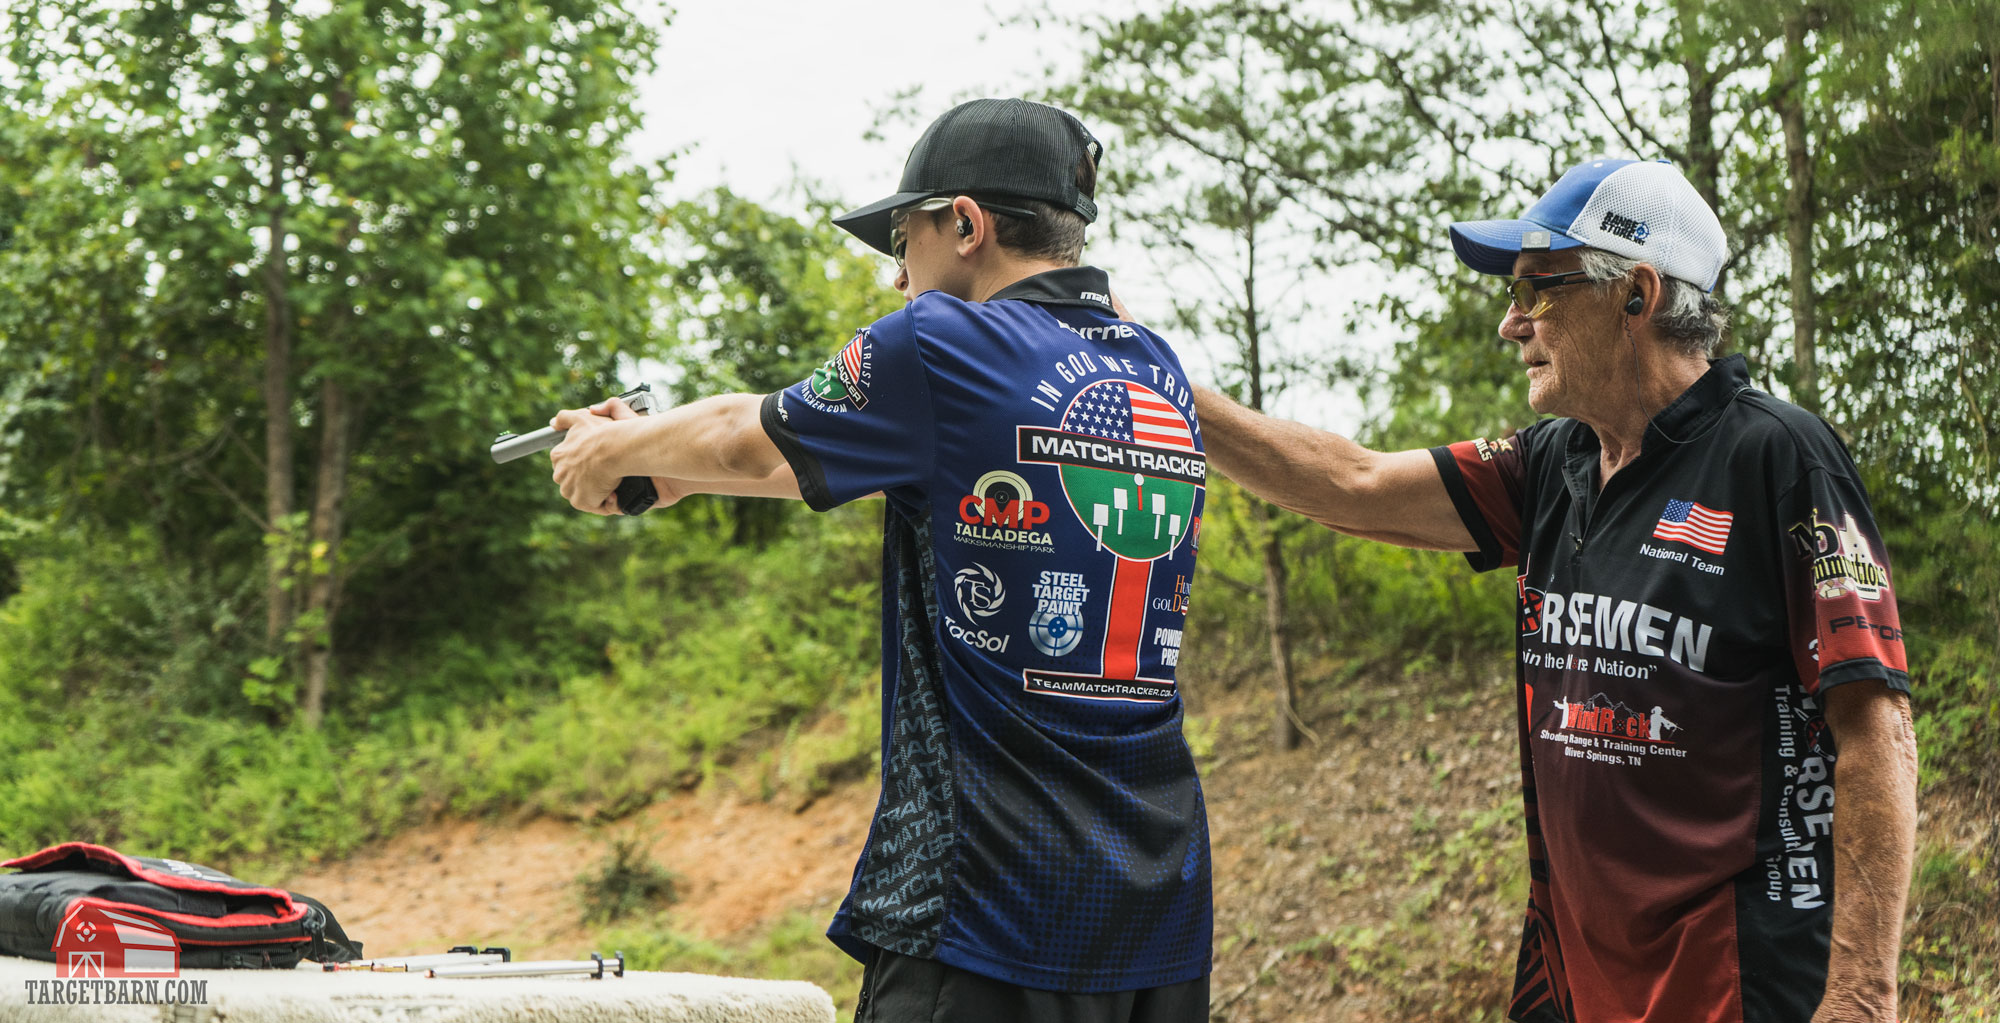
When you go to your first Steel Challenge match, plan on arriving a bit early and be sure your gun is unloaded before you arrive. When you arrive, seek out the Match Director, and let them know that this is your first match. They’ll likely pair you up with someone more experienced that can help make your first match a safe and enjoyable experience.
Safety Table
Every Steel Challenge match should have a place designated the safety table. It is the ONLY place where a competitor can handle their firearm while not under the direct supervision of a range officer without getting disqualified (DQ’d). You cannot bring any ammunition to the safe table. If you’re shooting a centerfire pistol, you can go to the safety table, put on your belt, your holster, take your centerfire pistol out of its case or container (keep it pointed in a safe direction at all times) and place the unloaded handgun in the holster. Once there, don’t remove it until it’s your turn to shoot, and under the direction of the Range Officer.
How to Shoot a Steel Challenge Stage
Every stage will have a Range Officer (RO) who runs the shooters through each stage. Keep track if where you fall in the shooting order. You want to be ready with all of your magazines loaded when the RO calls your name. Bring your magazines along with your firearm (cased or holstered) to the firing line.
Range Commands
Once on the firing line, the RO will direct you by using the official range commands.
“Make Ready”
The RO’s first command us “make ready!” With this command, you’re authorized to do whatever it is you need to do to shoot the stage. This includes removing your firearm from the holster or case, putting a magazine in the gun, and chambering a round. If your firearm has an optic, now is the time to make sure the power is on and the dot is at the desired brightness.
You may also take a sight picture by aiming at the targets without firing if needed. This means you can hold your gun up to the targets without shooting.
When your gun is loaded and you’re ready to begin, holster your centerfire firearm and place both hands in the air in the “surrender” position. This signals to the RO that you’re ready. If you’re shooting from a firearm that starts from the low-ready, aim at the marker. When you do so, the RO will assume you’re ready.
“Shooter Are You Ready, Standby”
When the RO believes you are ready, they will ask “shooter are you ready?” If you’re not ready, verbally tell them. If no answer is given, the RO will then say “stand by!” and the next sound you hear will be the “BEEP!” of the timer. You may then engage the targets on the stage. When you’ve hit all five targets, the RO will read off the time from the range timer to the scorekeeper.
During this time, you’re still under the “make ready” command. You can still handle your firearm and ammunition unless you are directed otherwise. You can remove the magazine (if needed) and insert a fresh one in preparation for the next string.
When you’re ready, either assume the surrender position if you’re a centerfire pistol shooter, or aim your firearm at the low-ready marker. The RO will again ask, “shooter are you ready?” and the cycle repeats until you have completed the stage by shooting all five strings.
“Unload and Show Clear”
Once you have shot all five strings, the RO gives the command “if you are finished, unload and show clear.” Remove the magazine from the firearm, and pull the slide or bolt back to eject any round in the chamber. Show the RO the empty chamber.
The next command will be “if clear, hammer down.” If you’re satisfied that your gun is unloaded, let your bolt or slide forward. Then point the firearm down range in a safe direction and pull the trigger. The hammer or striker should fall at this point, and the empty gun should have an audible “click.”
Rimfire shooters are not required to “hammer down” as pulling the trigger on some rimfires with an empty chamber can damage the firearm.
The RO will then tell you to either holster (centerfire pistols), flag and bag (rifles), or just bag (rimfire pistols). The objective is to return your firearm to the condition that it was in when you came to the firing line. Rimfire and PCC shooters need to use caution at this point. It is easy to “flag” or muzzle yourself when putting the firearm back in the bag. If this happens at a match, it’s a DQ. It would be a good idea to practice taking your firearm out of the case or bag and returning it there at home before the match.
Once your entire squad has completed the stage, you’ll move on as a group to the next stage. This cycle repeats until every squad has shot every stage of the match.
Congratulations – you’ve just completed your first Steel Challenge match!
Getting Your Match Results
Usually within a day or so (sometimes the same day) the Match Director will have the scores posted to Practiscore. Typically, the Steel Challenge website uploads the scores by Wednesday of the following week. If you’ve shot a minimum of four official SCSA stages, you’ll have a classification in your chosen division.
Best of luck shooting your first Steel Challenge match. Have fun and stay safe!
