Getting some target practice time at the range can be tough. It can be overwhelming to juggle schedules, ammo budgets, and finding somewhere you can work on practical skills like drawing, reloading, or shooting multiple targets. Once you’ve found a place and a few precious hours, you’ll want to make the most of it by getting in some meaningful target practice that will help you improve.
That only sounds easy.
How many times have you gone to the range without a plan? Have you wondered what you should practice? How do you know if you’re even getting better?
If you’re starting from ground zero, it’s hard to know what to do. While it would be great if we could all have private, in-person coaches, that’s just not always possible.
Fortunately, once you’ve learned some basic skills and are able to shoot safely on your own, you can set up your own improvement program. Let me tell you one way how.
Target Practice Step One: Start Somewhere, Anywhere
Not everyone knows what particular skill or set of skills they want to work on, and that’s okay. If you are at a point in your shooting career where you are overwhelmed by what you still need to master, then you can just pick anything. As you target practice and improve at those things, then you’ll be in the position to identify the weaknesses that you need to work on.
Either way, start your range planning by picking a standard drill or exercise. I like using USPSA classifier stages, or you can look through the drills at pistol-training.com. What you’re looking for is something that you can set up at the range with the resources you have available and that has some performance standards associated with it.
By definition, USPSA classifiers all have a “high hit factor,” which is the theoretical maximum hit factor for each division. If you’re already a USPSA shooter, you probably have an idea of how target scoring and hit factor works. For the rest of you, the basic idea is that each section of a USPSA target has points associated with it. The “A” zone always gets five points for each scored hit. Depending on your equipment division and power factor, the “B” and “C” zones get four points for major and three points for minor. Similarly, the “D” zone gets two points or one. To arrive at your hit factor, you divide the total points by the time it took you to shoot. You can do the math to calculate hit factor manually, or you can use an app like PractiScore to do it for you.
Many common drills or exercises also have scoring brackets or maximum scores. For example, the F.A.S.T. Test brackets scores into Novice, Intermediate, Advanced, and Expert buckets. Meanwhile the Hardwire Tactical Super Test has a maximum score of 300, with a suggested passing score of 270, as scored on an NRA B-8 target.
The idea is that you should be using a course of fire where you can objectively measure your performance under controlled conditions.
Step Two: Set It Up
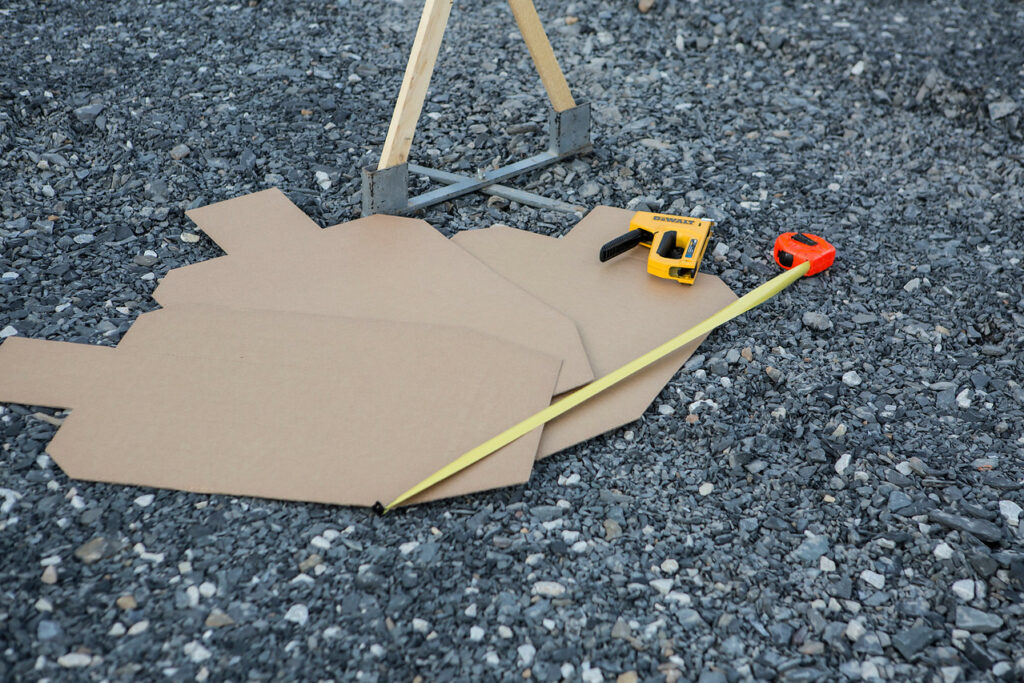
Whatever you pick, it will come with setup instructions.
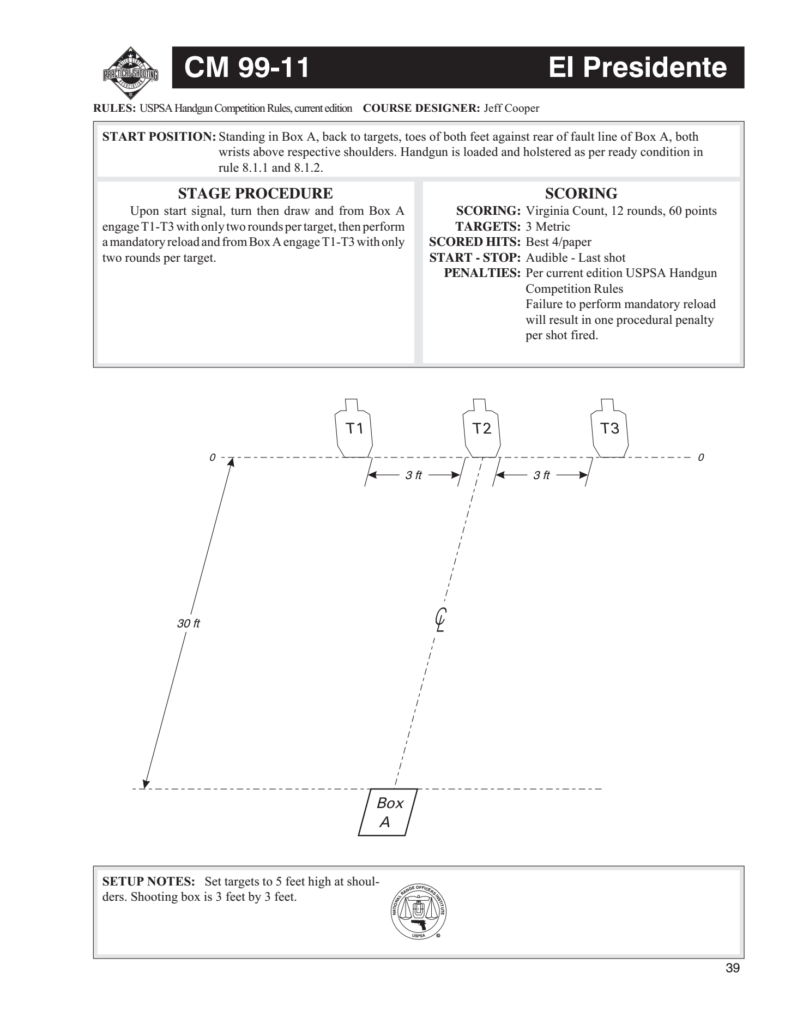
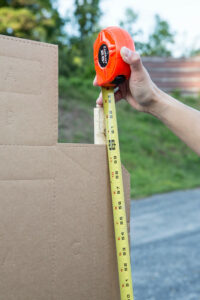
USPSA classifiers can get quite elaborate with diagrams that will specify everything from precisely how far apart targets should be from each other to the shooting box to the height of each target.
Other drills and exercises can be as simple as “stand five yards from the target.”
Either way, it’s important to follow them precisely and consistently. If something about the way you need to set up isn’t specified or is unique to where you’re shooting, make sure to note down what you did.
It’s important both to be practicing the same exercise that you’re measuring yourself against and to be able to reproduce it during future range trips.
If you shoot a 15-yard drill at 10 yards, obviously your scores aren’t going to be easily comparable against the outside standards that have been set for it. The only way to know if you’ve shot a passing score is to shoot it as intended.
And if you set up your practice classifier stage different at every session, trying to measure your improvement over time will be difficult because you won’t be able to compare apples to apples.
Step Three: Shoot It
Did you think I was never getting to the fun part? Of course not! It’s just that in order to make your fun productive, a little bit of work is going to be involved.
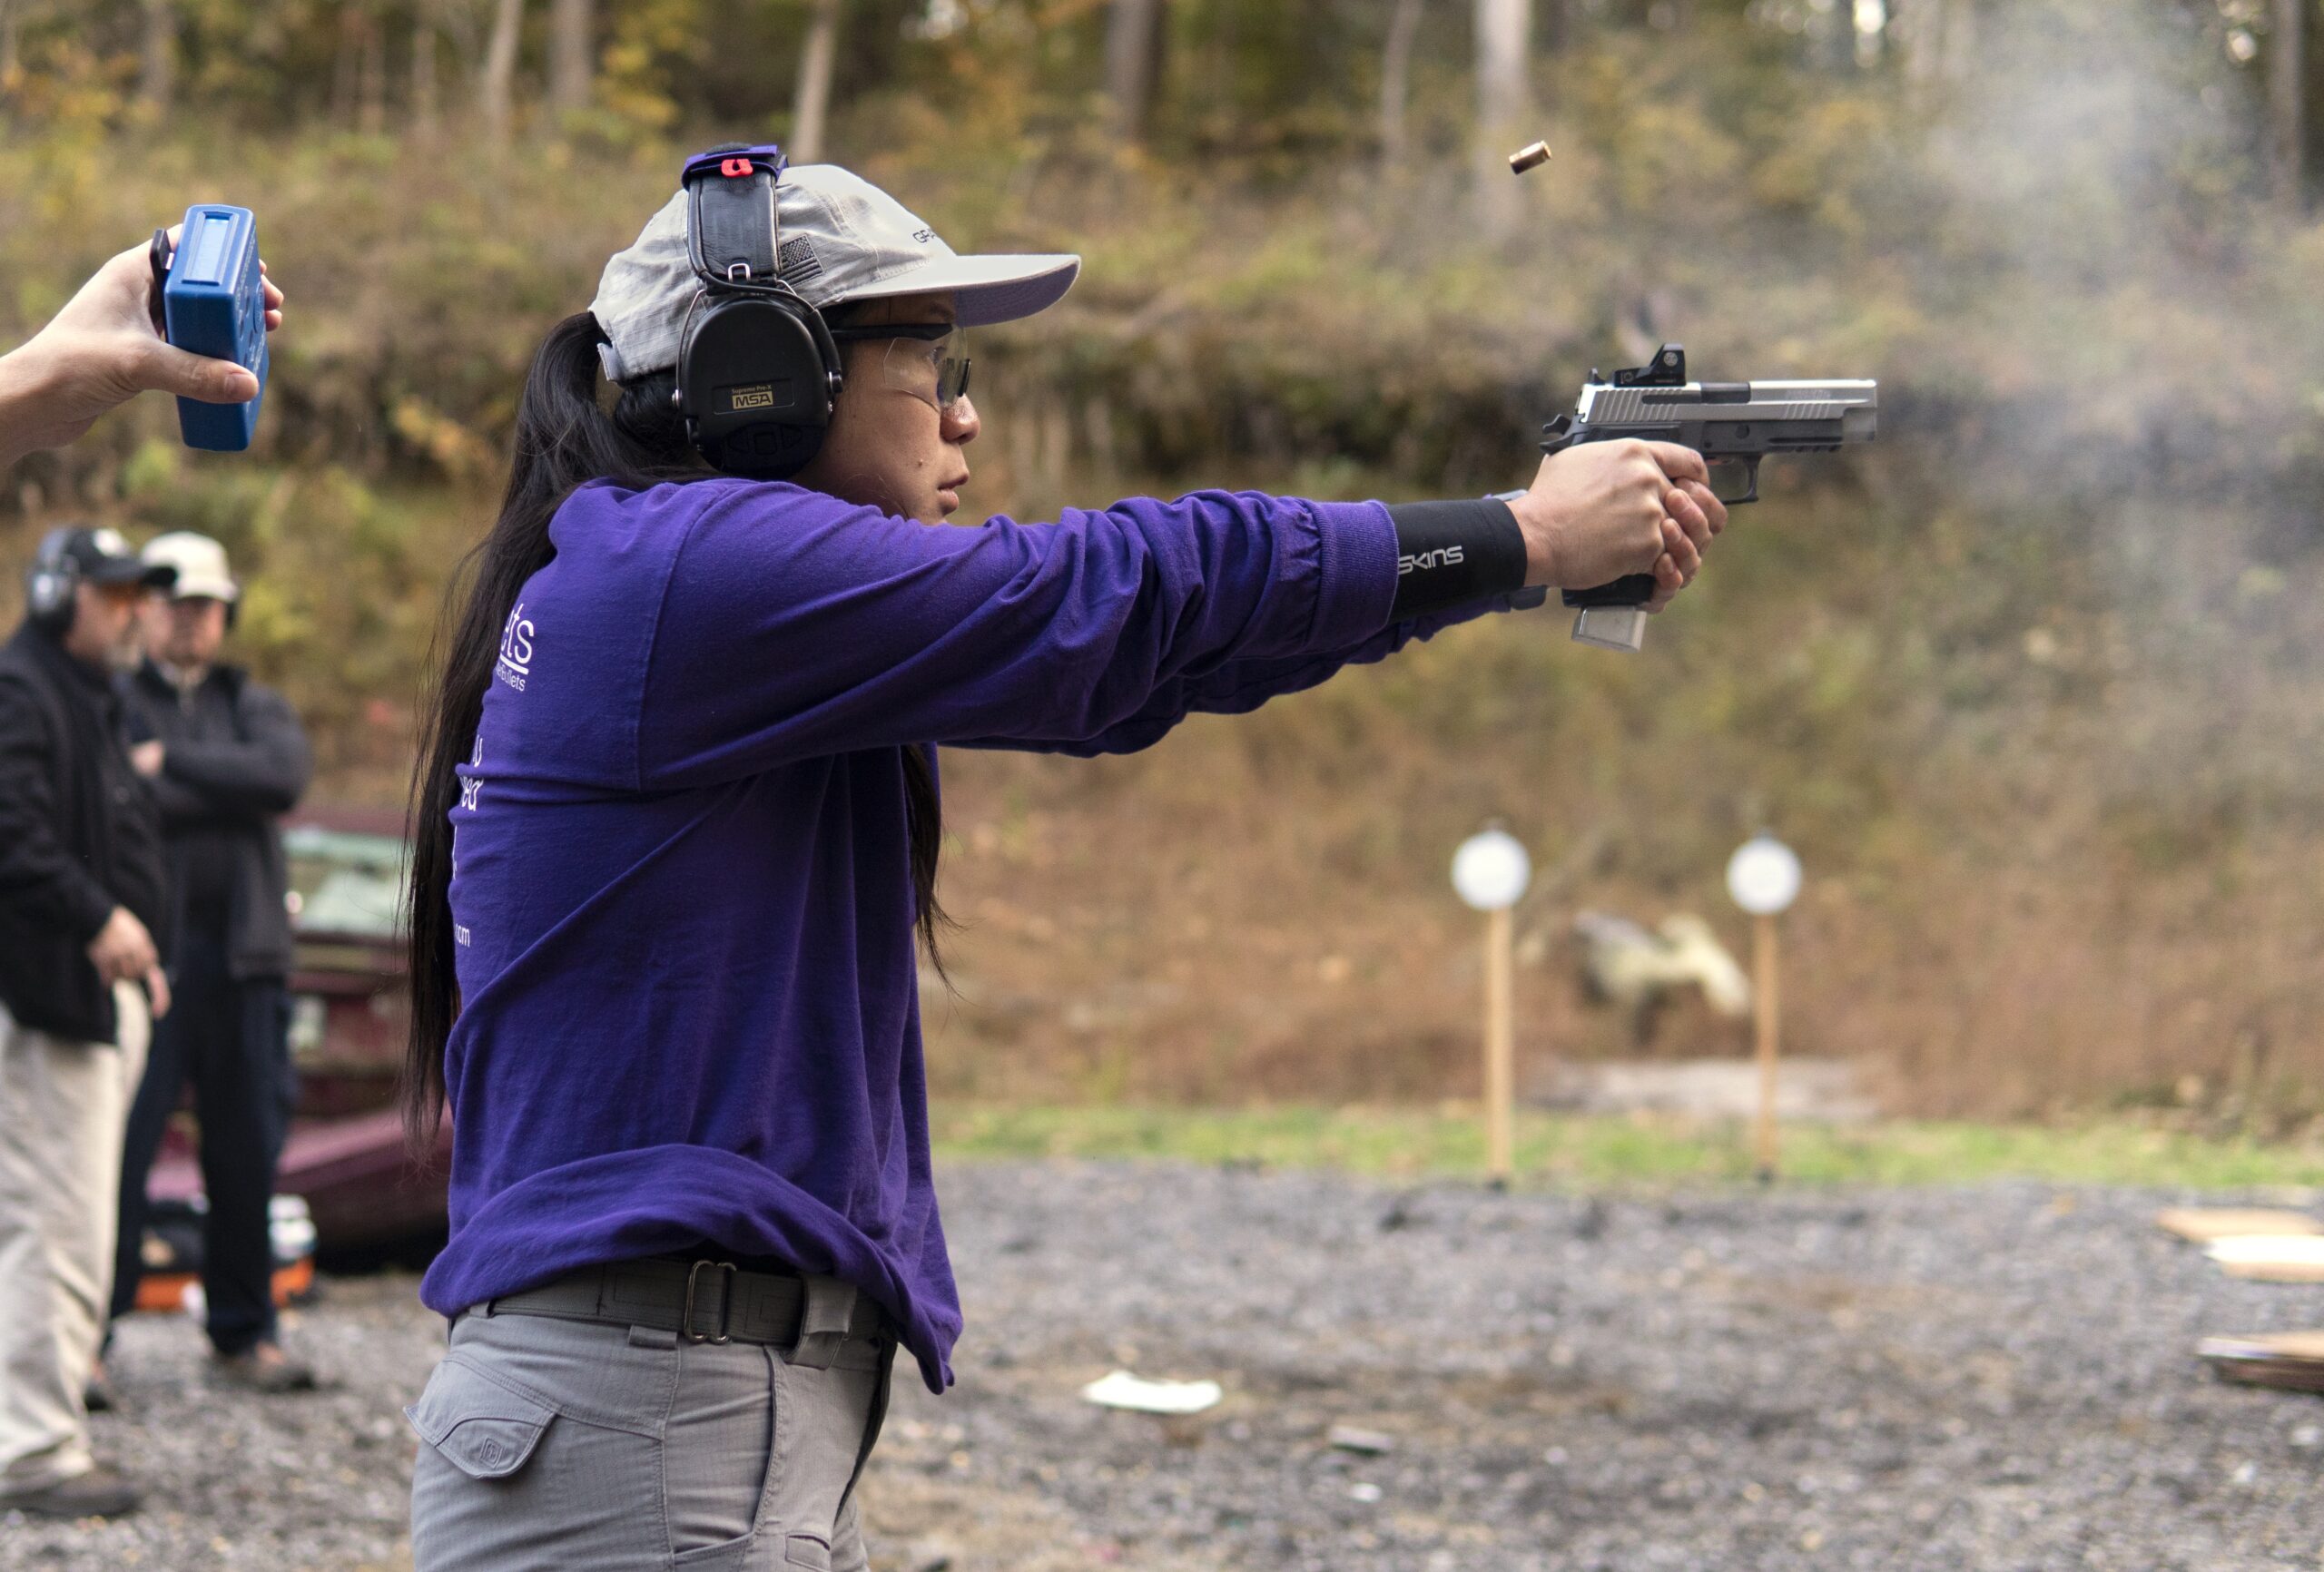
But for right now, you get to actually shoot what you’ve set up. Make sure that you follow any instructions that come with the classifier, drill, or exercise including mandatory one-handed shooting, reloads, or time limits. If time is a factor – and it should be for most – then make sure you’re measuring with an accurate shot timer and not just guessing.
https://www.instagram.com/p/BaFcEbGnli2/
How much should you target practice? Some of that will be dictated by your time and ammunition resources, and that’s fine. If you’re lucky enough that you can shoot as much as you like, then you’ll likely get the most benefit out of only practicing one to three drills in a session. Shoot each drill a minimum of three to five times, and stop when your performance starts to degrade. You’ll know it has, because you’ll be keeping track, right?
Step Four: Record It
That’s because as you shoot, you need to not only pay attention to what you’re doing and how the results look, but you need to record them. In detail.
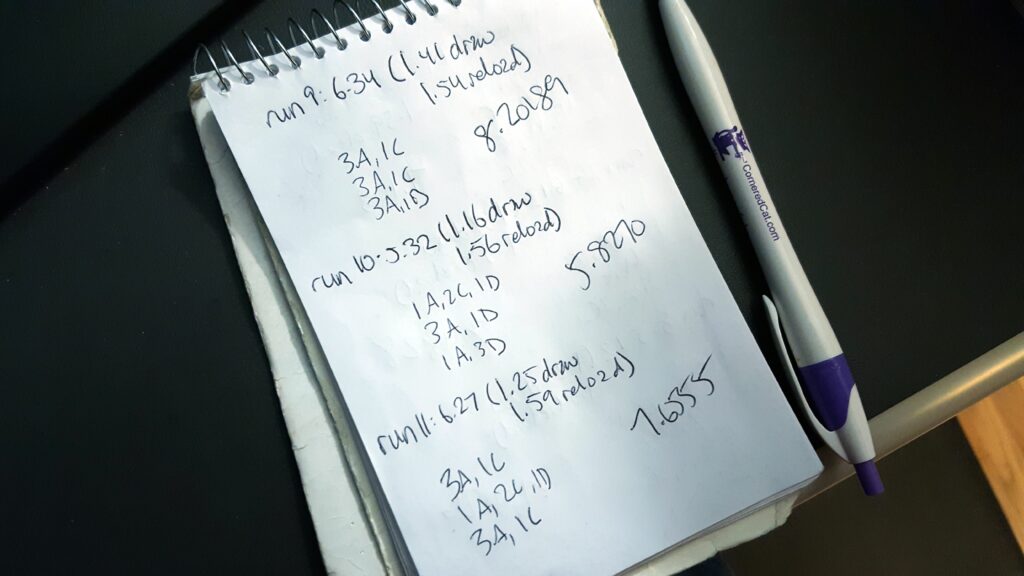
That means for timed work, you should at a minimum write down the total time it took you to shoot the course of fire or, if there are multiple segments or strings, each one. It’s also helpful to note the amount of time it takes you to perform significant steps such as a draw from holster or a reload. You can find that by looking at the split times recorded on your shot timer, which are the times between shots.
If you’re shooting something on a limited par time, don’t just record whether you were over or under time. Writing down the exact amount of time you actually took is still important.
You’ll also want to write down your scores or hits, and you may find it helpful to include a certain amount of detail. For instance, instead of just saying you shot one miss in the F.A.S.T. test, say that you missed the second head shot. Some practice sessions, I’ll just snap a picture of the target with my cell phone.
And while you have your cell phone out, consider getting some video if you can do so safely. The most helpful angles are usually to your immediate right and left. This isn’t for social media, so don’t worry about “performing” for the camera – you just want to be able to see what you did. If you have slow motion capability, it can be worth grabbing a bit of that kind of video as well (or you can edit your video after you get home, during the next step).
The goal during this phase is to shoot, then record all of the data that you can about what you’ve just shot. In addition to the hard numbers, major impressions that strike you are helpful too: did a run through the drill feel “good”? Did you screw up something you were able to immediately identify? Don’t rely on your memory, especially since you’re writing things down anyway
Step Five: Analyze It
After you’ve cleaned up the range and gotten home, it’s time for you to look at the data you collected. You want to answer questions like these:
- What went well?
- What didn’t go well?
- How did your hits look?
- What was your low time, high time, and average time?
- Was your first attempt better or worse than later attempts?
- What were your times for performing individual skills like the draw or a reload?
- How did you do against the scoring brackets or maximum scores? For USPSA classifiers, how did compare against the High Hit Factor?
- If you shot the exercise more than once, what improved? What didn’t? What stayed the same?
The most important part of this step is to be honest with yourself. It’s okay to fail during target practice and since this is your own private analysis, you don’t have to put a pretty face on it.
That said, it can be helpful to work with a trusted friend or coach. They may ask questions that you haven’t thought of, identify trends you didn’t notice, or see things that you miss in your videos.
As you work through and organize the information you collected on the range, you’ll start to gain a better understanding of exactly what it is you were doing when you were shooting. That’s important because you can’t improve unless you know what you did in a measurable way across multiple repetitions.
Step Six: Break It Down
However you’ve done it, going through your data and thinking about it objectively is how you will be able to self-evaluate not just your overall performance, but also to identify the elements that you are struggling with or doing well.
That’s why it’s so important to record as much detail as you can when you’re practicing, and to spend time analyzing all of it. As you spend more time doing that, you’ll start to get a feel for what the information tells you, what you’re missing, and what you don’t need after all.
As examples, some of the things I like to look at are my draw to first shot times, my split times between shots on the same target and between transitions to different targets, how long it takes me to reload my gun, and how long it takes me to move from position to position. I also like to look at the efficiency of my movement. A lot of this comes out of my shot timer, but video is also invaluable to separating out the details of each little piece of my practice.
Once those individual bits and pieces are separated out, you can benchmark them against others, or against your own prior work. You can also see if one particular element is eating up a lot of your time or points on a drill.
For instance, if you’re really fast but your hits are terrible, then you know you need to focus on your accuracy. If your draw is on point, but you screwed up every reload, then perhaps you need to stop working on your draw for a while. If your time transitioning between targets right next to each other are much longer than your time between shots on the same target, then transitions are a good skill to address.
https://www.instagram.com/p/BaewdC5Hf2A
It can be difficult to figure out what all of these chunks are, and that’s where working with more skilled shooters can help. Even without that help, though, remember step one? Pick something, and decide that’s what you want to get better at doing.
Once you’ve decided on a weak point to improve, you can start practicing that skill in isolation. Work on it in both dry fire and live fire, continuing to keep track of how you’re progressing with it.
Target Practice Step Seven: Repeat
The next time you make it out for some live fire practice, it’s time to set up the same classifier, drill, or exercise that you shot on your last time out. Go back to step two above and work your way through everything again, collecting a new set of data.
This time, when you’re analyzing information from your range session, compare it against your past runs. Look at both overall time and the same smaller chunks that you separated out before, as well as the quality of each run. Did it feel “better”? Easier? Jerkier? Slower? Did it look smoother on video? How do those feelings compare to the actual numbers, both time and hits?
While improvement is wonderful, you’re also looking for where you haven’t gotten better or even where you might have backslid a bit. All of those things tell you whether your work on the various elements you identified in the last cycle has been beneficial, and will help you guide your practice in this new cycle.
If you continue to struggle with a particular element, you can always work that one alone or find another drill or exercise that emphasizes it more. What’s important is that as you identify weaknesses, you focus your work on them instead of finding ways avoid needing to use those skills.
Once you think you’ve put enough time into one particular standard, whether because you’ve met your goals with it or even because you’re just bored with it, it’s time to go back to step one and pick something new.
But don’t leave behind the old ones entirely. Revisit them occasionally and see how the work you’ve been putting in on other exercises has helped you.
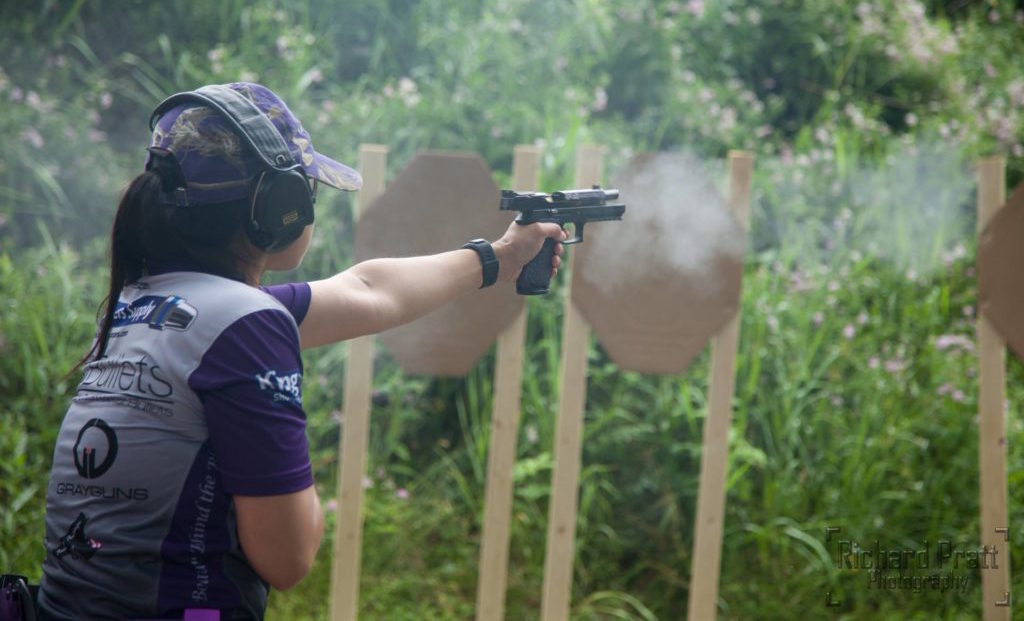
Over time, working through standardized courses of fire by following these steps will help you get better not only at those courses of fire, but also the component skills that are included in them, and the application of those skills in other contexts.
Going to the range with these sorts of plans might not seem as fun as just shooting whatever comes to mind, but it can be with the right drill, exercise, or classifier, and an open-minded attitude that doing some work to become a better shooter is its own satisfaction. And you’ll waste a lot less time and ammunition if your goal is improving your shooting skills in a way that you can actually see.





I found it interesting that you suggest analyzing your shot data. My brother has been working at becoming a better shooter, so he can qualify for security work. I will keep this in mind, and set him out looking for an indoor gun range that can give him the space to keep track of his data.