
 No Comments
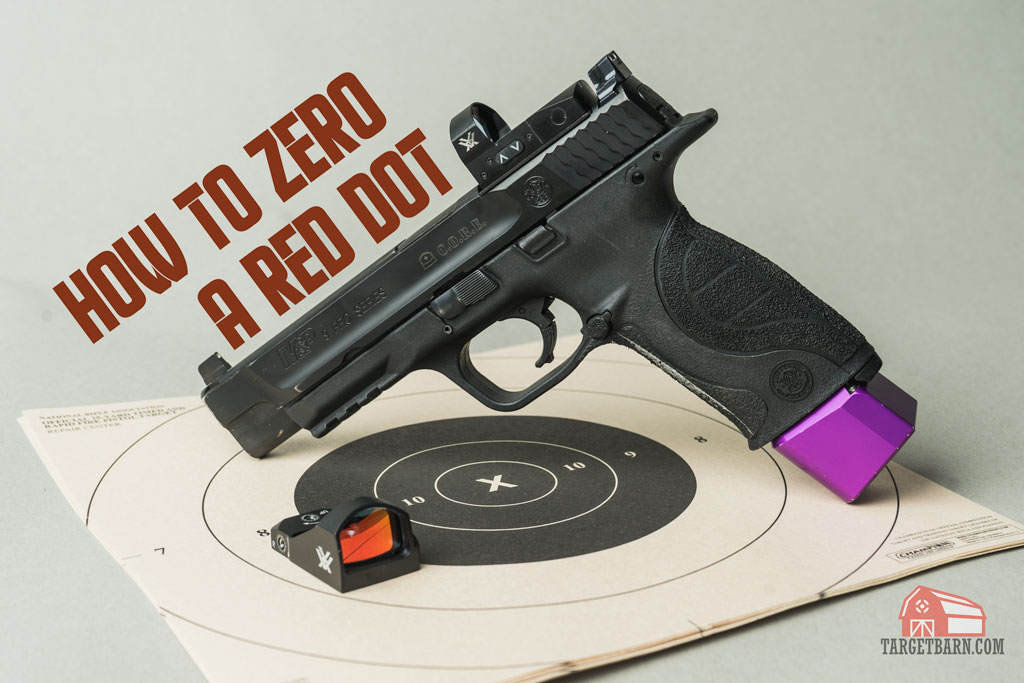
 Thanks to the explosive growth of USPSA and Steel Challenge divisions like Open and, more recently, Carry Optics, many shooters are trying to figure out the best way to zero the red dot optic they have on their pistol. Keep reading to learn how to sight in a red dot optic!
What is “zero?”

To “zero an optic” means undergoing a process which creates a predictable and desirable point of aim, point of impact for your red dot.
Point of aim is where your dot is on the target. Point of impact is where your round actually hits. The key here is both “predictable” and “desirable.”
If you aim your red dot at the center of the A Zone, and the point of impact is square in the middle of the target stand, that’s predictable but not very desirable. The desirable point of aim, point of impact scenario is to have the bullet hit the exactly where you aim.
Chances are, out of the box, your red dot pistol will not be zeroed at the distances you shoot. There will be some variance, measured in MOA (Minute Of Angle), from the desired point of impact. Therefore, the objective is to make that variance effectively “zero.” To accomplish this you’ve got two different methods to choose from.
How to Sight In a Red Dot: Supported vs. Unsupported
The two different schools of thought when it comes to the mechanical process of zeroing an aiming device are supported and unsupported.
Supported Sighting In

The supported school of thought says that it is desirable to remove as much human error as possible when determining point of aim/point of impact. To that end, shooters normally employ some form of a benchrest to minimize gun movement as much as possible during the zeroing process. In the ideal benchrest set up, the only part of the gun that can move prior to ignition is the trigger.
In theory, this school makes a lot of sense. If you benchrest the gun and fire three shots, those shots should all land in the same exact place. You can be extremely confident when you make adjustments to the point of aim based on the point of impact that no outside factors potentially influenced that point of impact. I always recommend a supported zero to any new shooter.
Unsupported Sighting In

However, many more advanced shooters prefer to zero their gun unsupported. This is done by simply firing the gun as they normally would when shooting at a target. I actually prefer to zero my optic unsupported. If I’m using a firearm for competition or defensively, it won’t be from a benchrest. I want to know what my hits look like when shot from my own hands, not from a benchrest.
There is a caveat for an unsupported zero. The shooter should be confident in their ability to hold a three-round group from the chosen zeroing distance. That’s why I don’t recommend this method to newer shooters. If you have mastered the fundamentals of grip, sight alignment, and trigger control, there are benefits to performing an unsupported zero.
Whether you zero supported or unsupported, you can follow the same process I outline below.
At What Distance Do You Zero a Red Dot?

The distance you zero your red dot at will depend on the firearm and its intended use.
A good rule of thumb is to zero at 15 yards.
Probably 80% of the shots you take in the practical shooting sports will be less than 15 yards. With a 15 yard zero, most pistol and ammo combinations will be good out to 25 yards without the need to adjust your point of aim (i.e. hold over) for the desired point of impact.
The first step is to establish your red dot baseline point of impact relative to your point of aim. This is where you are currently hitting versus where you are aiming. From your starting position (either supported or unsupported) fire three to five rounds at the target. If done correctly, you should see the corresponding number of bullet impacts on your target in a relatively tight group.
You can then compare the position of the bullet impacts relative to the point of aim on the target. Are they to the left or right of the point of aim? How about above or below the point of aim?
Once you’ve established where the bullet strikes are happening on the target relative to where you are aiming, you can make adjustments on the red dot sight so that point of aim and point of impact are the same.
The only caveat to this first step is the possibility that the red dot is so far out of adjustment that you may be completely off target from 15 yards. If you make a couple of attempts to make an establishing group from 15 yards but find no bullet marks on your target, then move closer to the target and repeat the process until you get establishing bullet marks on paper.
How to Zero a Red Dot: Windage and Elevation

Sighting devices (like red dots and scopes) have adjustments for windage and elevation. The windage adjustment will move the point of impact left and right of center. The elevation adjustment will move the point of impact up and down. Having completed the first step, we now know where the bullets are impacting relative to where we are aiming. Using the windage and elevation adjustments, we move the point of impact to the exact point of aim.
How Many Clicks?
If you like math, you can adjust windage and elevation the technical way. The first step is to measure how far the bullets are impacting from the point of aim. Next, convert that measurement into MOA. You can then make the corresponding “click” adjustments to windage and elevation.
Let’s say you determine that your current bullet impacts are 5 MOA above and 3 MOA to the left of the target. By reading the instruction manual for your red dot, you’ve determined that, hypothetically, one “click” of the windage adjustment equals one MOA of bullet impact adjustment, and the same is true for the elevation adjustment. By adjusting the windage by 3 clicks toward the target, and the elevation 5 clicks toward the target, you should in theory now have a point of aim equal to the point of impact.
Since I don’t like math, I tend to guess how many clicks I need to move. The further the point of impact from the desired point of aim, the more clicks I start off with (normally no more than 10 clicks). The key is to adjust windage and elevation independent of one another.
I usually adjust elevation first, moving my point of impact up or down until I’m lining up with the vertical point of aim. Then I’ll adjust windage left or right until I’m right on target.
Check Your Zero
Once the point of impact is equal to point of aim at 15 yards, I’ll confirm zero at 25 yards. Keep in mind the practical shooting sports aren’t incredibly precise. In USPSA, you just need to land somewhere in the A zone. In Steel Challenge, you just land a hit somewhere on a steel target.
When zero’d at 15 yards, most pistol and ammo combinations should experience very little variations when shooting at 25 yards. Not enough to make a scoring difference on paper or steel, at least.
Once you have your zero established, it’s a good idea to periodically re-check zero. Before any big match or immediately after changing a battery for example. After you initially set your red dot optic zero, you can follow these same steps to confirm zero.
Now that you know how to sight in a red dot, grab some ammo and targets and hit the range!